A licensed variant of the original Russian design operated by the elite of CSAT armored forces. The tank is equipped with a high velocity, high-accuracy 125mm cannon, a 7.62mm coaxial machinegun, and a 12.7mm HMG in a remote turret. The crew is located in an armored capsule in the hull, improving survivability and eliminating one of the weaknesses of older tank designs. The disadvantage is its technical complexity and cost, resulting in low production numbers. Two main variants are currently in use - the standard T-140 and the T-140K, a 'commander' variant which exchanges the HMG for a 30mm autocannon. In addition, it also provides additional radios and sensors for platoon and company leaders.
Field Manual
»
Design[]
This is a premium asset that requires ownership of the Tanks DLC.
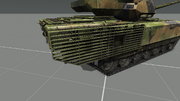
One of the most advanced and best protected Main Battle Tanks in the world, the T-140 shares little in common with previous generations of Russian-made and Soviet-era MBTs.
The T-140's design prioritises crew survivability, and the hull's overall dimensions are much bigger compared to both the T-90 and T-100.
Armament
It is armed with a 125 mm smoothbore cannon and has a coaxial 7.62 mm medium machine gun. The roof of the turret is also fitted with a remote weapons station that is armed with a 12.7 mm heavy machine gun.
The standard loadout of the T-140 gives it 20 rounds of armour-piercing fin-stabilised discarding sabot (APFSDS-T), 12 high-explosive (HE-T), and 12 high-explosive anti-tank (HEAT-T) shells for the main gun.
Meanwhile, the coaxial MMG feeds from a single 1,000-round linked belt and only has one spare belt to reload from (for a combined total of 2,000 rounds). Lastly, the 12.7 mm HMG is pre-loaded with only one 500-round belt box and does not carry any reserve belt boxes.
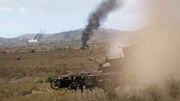
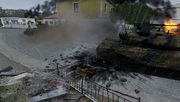
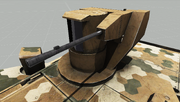
T-140 in combat.
Features
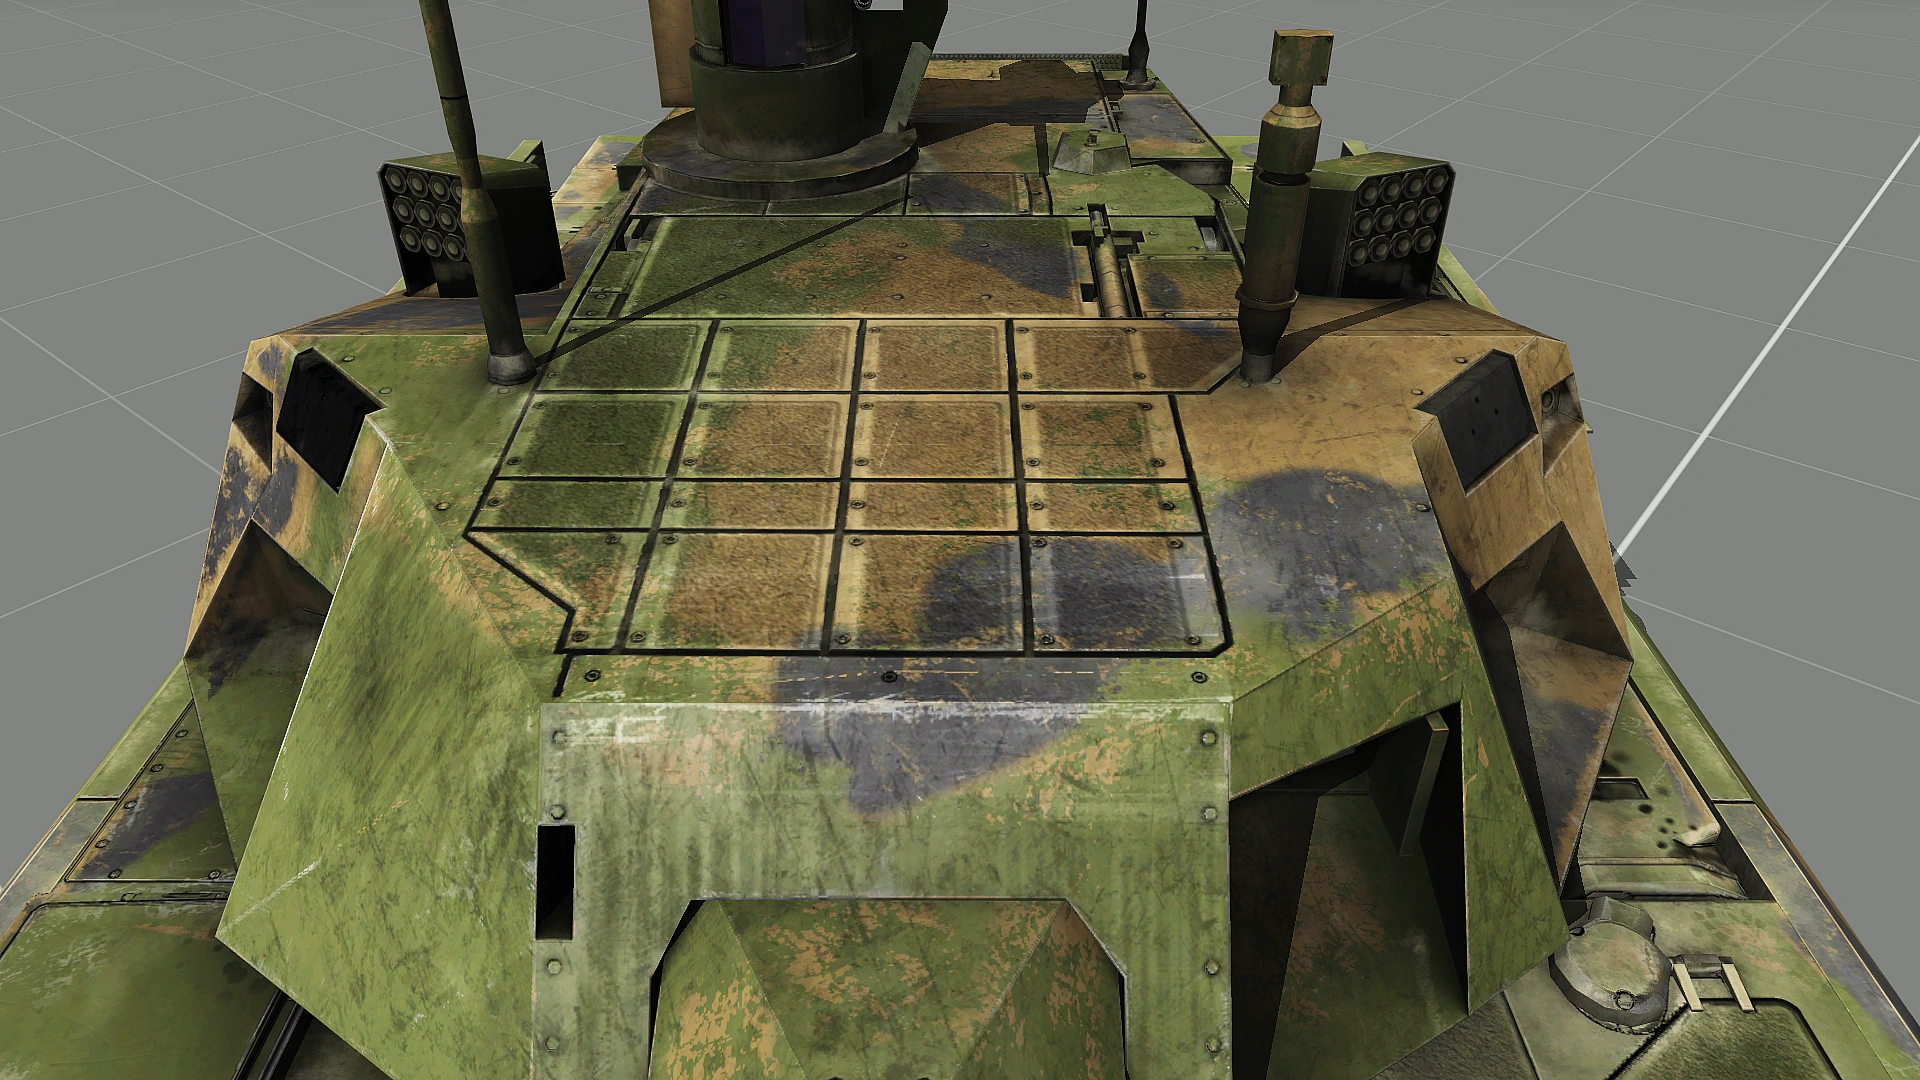
Unlike other Main Battle Tank designs, the T-140 is unusual in that its turret is completely unmanned. Whereas other tanks leave at least two of their crew members vulnerable to being killed (or seriously injured) should the turret be struck by kinetic munitions, the T-140 does not face this issue.
This is because the entire crew sit side-by-side directly in the centre of the hull. Since both sides and the front of the hull are protected by slabs of Explosive Reactive Armour (ERA) and the glacis plate (respectively), it is practically impossible to score a mission kill on the T-140 unless its armour has already been heavily damaged.
Mobility
Compared to CSAT's own T-100 tank, the T-140 has slightly poorer handling due to the added bulk of its armour and bigger/taller turret. Its survivability is much better however, and is even slightly superior to that of NATO'sM2A1/M2A4 tanks as well.
Drawbacks
But while the T-140 is certainly an extremely tough MBT to take down, it shares the same vulnerability as the T-100; namely that its engine is left exposed to being taken out in a first strike.
Flanked from behind, a single AP shell is sufficient to cripple the T-140 in one hit.
Though the rear of the hull has slat cages surrounding the engine which protect it against HE-based munitions, a single hit from any kind of kinetic-based penetrator is usually more than enough to disable the entire tank. A second or third shot will almost always end up destroying the T-140.
In contrast, the Slammer family does not suffer from this issue since its engine is placed at the front of the hull where the armour is thickest.
The other problem is that it is entirely possible for all three crew members to be killed by a single, well-placed round impacting the centre of the hull where they are located. Fortunately, it is only possible for this to occur if the side armour has already been severely damaged/compromised by previous hits.
Crew Capacity
The T-140 has a maximum crew capacity of three; enough seats for a driver, the gunner, and a commander. It is unable to transport any additional passengers.
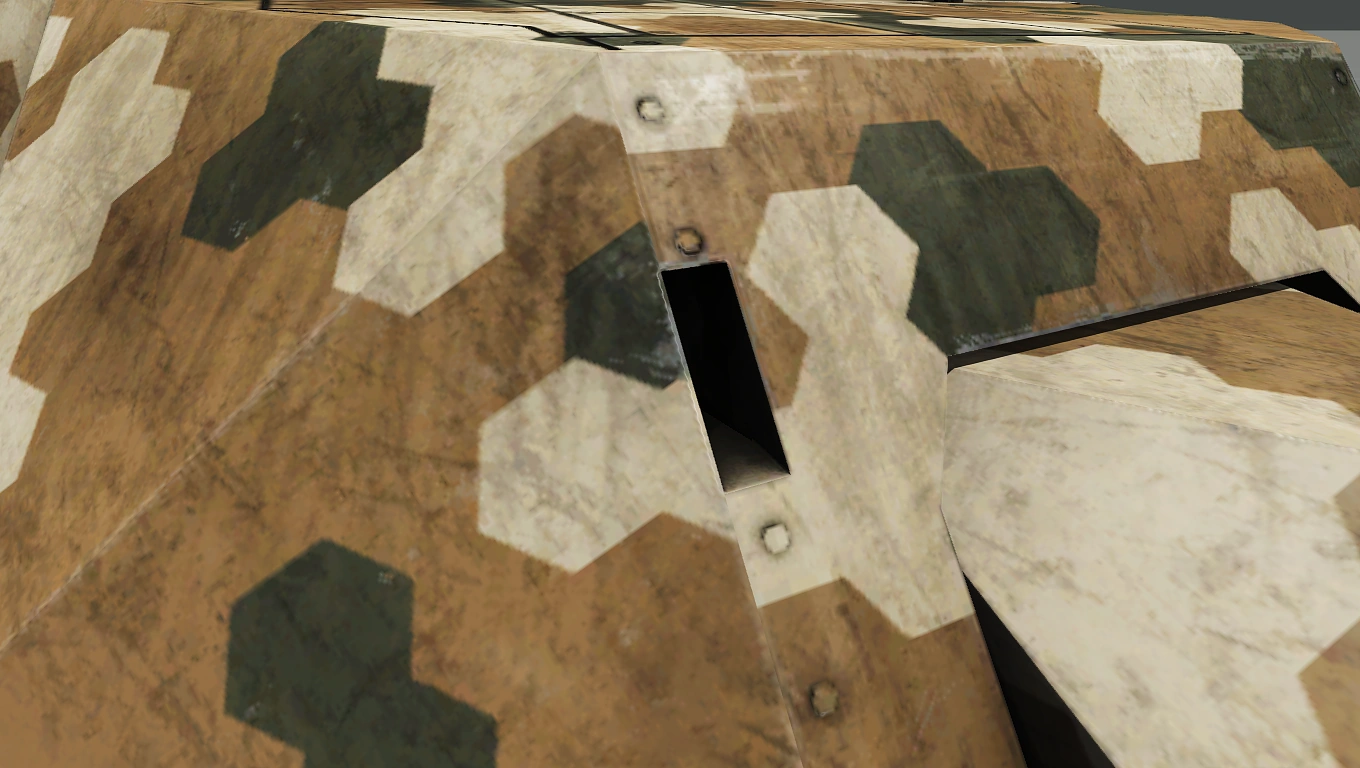
Camouflage[]
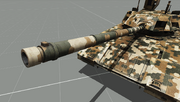
Hex
Green Hex
Grey
Jungle
Hex (Camo Nets)
Green Hex (Camo Nets)
Grey (Camo Nets)
Jungle (Camo Nets)
1/8
Hex: Arid Hexacam camouflage pattern. Useful for forested, grass plains, and desert environments. Changes any applied camo nets to use a two-tone desert camouflage pattern.
Green Hex: Tropical Hexacam pattern camouflage. This is used in heavily forested and tropic environments. Attached camo netting will use a two-tone woodland camouflage pattern.
Grey: Pattern-less dark chrome grey paint scheme.
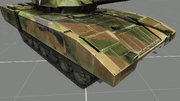
Jungle: Three-tone tropical camouflage scheme.
Protection[]
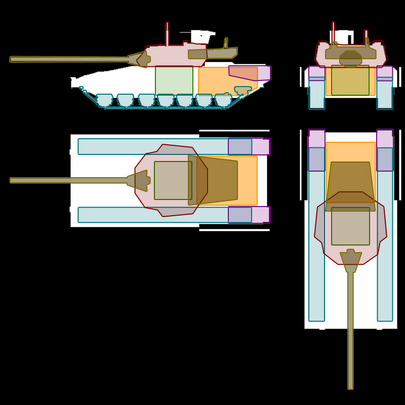
The T-140 has a base armour value of 700 and uses a mixture of three armour types: Composite Armour plating, Explosive Reactive Armour slabs and addon Slat cages.
The ERA slabs protect the front, top and sides of the hull. Two slat cages shield the rear of the vehicle (protecting the engine), though they can't be detached from the vehicle unless they're destroyed.
The following highlighted positions serve as weak points on the T-140:
Note that in order to inflict actual damage, a munition must first penetrate through the surrounding armour plates and directly hit the component's weak point. Any strikes on non-highlighted parts will cause little (if any) noticeable damage.
Hull[]
The hull can resist up to 1,750 points of damage. Will cause a catastrophic kill if fully depleted.
Munition type
Damage reduction (%)
Velocity reduction (%)
Armour Piercing
None
10
High-Explosive
80*
50
High-Explosive Anti-Tank
80*
80
Tandem High-Explosive Anti-Tank
80*
10
(*) Reductions only apply to the explosive component of the munition i.e. Tandem HEAT explosive charge
If the hull has been compromised, no reductions will be applied to the velocity/raw damage of incoming projectiles.
Hull ERA[]
ERA slabs surround both the front and sides of the hull (the rear is not shielded), blocking up to 200 points worth of damage.
Munition type
Damage reduction (%)
Velocity reduction (%)
Armour Piercing
N/A*
35
High-Explosive
None
None
High-Explosive Anti-Tank
N/A*
99
Tandem High-Explosive Anti-Tank
N/A*
35
(*) Damage reductions are not listed here as the ERA slab instantly destroys the projectile upon contact which automatically negates all damage
ERA slabs incur a 200% increased damage penalty from high-explosive (HE) type munitions. However, no damage upon them will be shared with the tank's main "health" pool.
The T-140's engine can only resist 420 points of damage. It takes 80% reduced damage from HE-type munitions.
20% of incoming damage onto the engine is always shared with the T-140's "health" pool. It will not however, cause a catastrophic kill on its own if destroyed unless the T-140 is at critical "health" status.
If damaged: Reduces power output, acceleration is decreased and it may become impossible to climb uphill. If destroyed: Instantly immobilises the T-140.
Engine Slat[]
Slat cages protect both sides of the engine. They can resist up to 200 points of damage before failing. No damage upon the cages will be shared with the tank's "health" pool.
The cages take 200% additional damage from HE-type munitions. Upon destruction, the cages will no longer protect the engine and must be manually reinstalled.
Fuel tanks[]
The fuel tanks can resist up to 350 points of damage before failing.
Only 10% of incoming damage onto them is redirected onto the T-140's "health" pool. Destroying the fuel tanks will not cause a catastrophic kill unless the T-140 is critically damaged.
If damaged: Gradually leak fuel over time, but stop at a threshold of 50% of the T-140's remaining fuel capacity. If destroyed: Causes them to rapidly lose their entire fuel capacity in just a few seconds.
Treads[]
Both treads can resist 650 points worth of damage. No amount of damage inflicted on them is transferred onto the T-140's "health" pool.
Destroying either one of the treads will hamper the T-140's handling but will not prevent it from moving. Destroying both will severely degrade the T-140's handling and can prevent it from moving while on rough terrain.
Turret[]
The turret can resist up to 1,600 points worth of damage. At least 25% of damage incurred will be shared with the T-140's "health" pool. Unless critically damaged, disabling the turret completely will not result in a catastrophic kill by itself.
Munition type
Damage reduction (%)
Velocity reduction (%)
Armour Piercing
None
10
High-Explosive
None
50
High-Explosive Anti-Tank
80*
80*
Tandem High-Explosive Anti-Tank
80*
10*
(*) Reductions only apply to the explosive component of the munition i.e. Tandem HEAT explosive charge
If the turret's armour has been compromised, no reductions will be applied to the velocity/raw damage of incoming projectiles.
Turret ERA[]
A section of the turret's front is shielded by ERA panels (the remainder of the turret is not protected). It can block a maximum of 200 damage points.
Munition type
Damage reduction (%)
Velocity reduction (%)
Armour Piercing
N/A*
35
High-Explosive
None
None
High-Explosive Anti-Tank
N/A*
99
Tandem High-Explosive Anti-Tank
N/A*
35
(*) Damage reductions are not listed here as the ERA panel instantly destroys the projectile upon contact which automatically negates all damage
ERA panels take 200% extra damage from HE-type munitions. No damage upon them is shared with the tank's "health" pool. Once detonated, the ERA panels must be reinstalled by logistics vehicles or manually replaced by hand.
Gun barrel[]
The turret's gun barrel can resist 800 points of damage before failing. 25% of incoming damage will be shared with the T-140's turret, which in turn will contribute damage towards the T-140's main "health" pool.
Destroying this component will lock the barrel and prevent the gunner position from adjusting its elevation/depression remotely. It should also be noted that unlike the turret, the barrel is only capable of reducing 80% of incoming damage from HE-type munitions.
Commander HMG[]
The commander's turret can withstand 560 points of damage. It is susceptible to small arms fire and has no resistance to HE-type munitions. All damage upon the turret will be shared with the T-140's "health" pool.
If disabled by enemy fire, the commander will no longer be able remotely adjust the turret's rotation and elevation/depression.
Components[]
Camo Net (Hull): Aside from the turret, the entirety of the hull is camouflaged with netting. Covered sections are partially concealed from thermal sensors.
Camo Net (Turret): Identical to Hull camo netting but for the turret only instead. Note that some components like the RWS or the commander's optics are not concealed.
Armament[]
NOTE: For specifics on the Cannon 125 mm's munitions, see its related section listed here.
The T-140's gunner position has access to both the Cannon 125 mm and Coaxial MG 7.62 mm while the commander position operates the RCWS HMG 12.7 mm instead.
For optics, three fields of view are available to both the gunner and commander. Both retain access to a day, night or thermal vision modes. Specifically for thermals, it is possible to toggle either a black-hot or white-hot spectrum:
Cannon 125 mm[]
125 mm smoothbore cannon. It is essentially the same 125 mm cannon shared with the T-100. However, it is an "advanced" version that has increased accuracy and a faster autoloader.
It can load HE, HEAT or AP-type munitions. Accuracy-wise, the T-140's advanced Cannon 125 mm has a dispersion of 0.000544 rad regardless of distance. It can attain a fire rate of 12 rounds per minute (5 second delay between shots) and only requires 5 seconds to swap between shell types or to rearm from a supply truck upon depletion.
The Fire Control System can automatically zero the distance to targets moving at speeds of ~ 110 km/h or less. There is only a delay of 0.5 seconds for the FCS to finish adjustments. Manual zeroing is possible and starts from a minimum of 100 m up to a maximum distance of 5000 m instead (adjustments are made with increments/decrements of 100 m).
Coaxial MG 7.62 mm[]
Base damage value
Aerodynamic friction
Initial velocity (m/s)
Penetration depth (mm)
11.6
-0.001
860
20.64
Coaxial 7.62 mm medium machine gun.
It can attain a fire rate of up to 800 RPM and takes 10 seconds to reload a fresh belt. The Coaxial MG always has a fixed dispersion of 0.0016 rad regardless of distance.
The Coaxial MG's FCS can only zero against targets moving at speeds of up to ~ 110 km/h. It has an imposed delay of 1 second before it can finish adjusting. Manual zeroing limits are similar to those used by the Cannon 125 mm, though it is capped at 1500 m rather than 5000 m.
RCWS HMG 12.7 mm[]
Base damage value
Aerodynamic friction
Initial velocity (m/s)
Penetration depth (mm)
30
-0.00086
910
35.49
Remote-controlled 12.7 mm heavy machine gun.
The RCWS HMG can attain a fire rate of up to 600 RPM and requires 20 seconds to reload a fresh box. Accuracy-wise, it has a fixed dispersion of 0.0012 rad regardless of distance. It needs at least 20 seconds to reload a fresh belt or to resupply from an ammo truck/crate upon depletion.
The FCS is only able to automatically zero on stationary targets and requires 1 second to finish adjusting. Manual zeroing is also possible, though only in increments of 100 m up to a maximum of 2000 m.
Achievements[]
Commander
Spend at least three hours controlling the T-140 from the commander's seat.
Can be earned in either singleplayer or multiplayer scenarios. It does not have to be accumulated in a single playthrough and can be earned over multiple sessions.
In It Together
Spend a total of twenty four hours of playtime inside the T-140 with a team of human players seated (in real-world time).
The driver, gunner and commander seats must be occupied by humans and not AI.
This time can be earned over multiple sessions. There is no need for the same group of players to participate for the hours to accumulate.
Steel Sniper
Must land a hit on another Main Battle Tank that is on the move at a minimum distance of 3.5 kilometres or more. Destroying the vehicle is not necessary; you only need to inflict damage on any part of the vehicle.
This can be earned in the editor or in singleplayer/multiplayer scenarios.
Trivia[]
The Angara is directly based on the real-world "T-14 Armata" MBT designed by Uralvagonzavod that is currently in limited service with the Russian military.
Before the release of Game Update 1.84, the gunner's Multi-Functional Display (MFD) terminal would erroneously mix up the ammo indicators for the main gun's munitions (HE shell count was swapped with HEAT instead).[1]
Prior to Game Update 2.08, the Angara would have the player's clan logo incorrectly oriented on the right side of the tank (the logo would only be shown if it was manned by a human player in an online multiplayer session). This was fixed by the patch's release so that the logo's texture is no longer mirrored.[2]
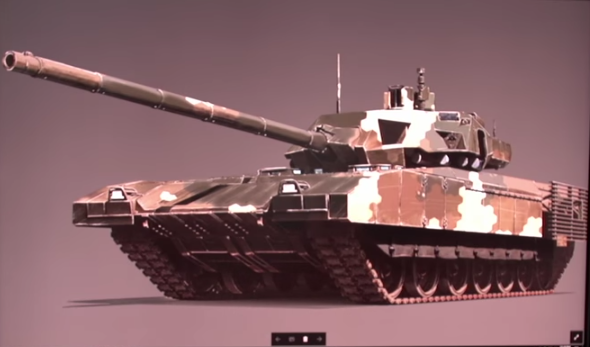
Preview artwork as seen in "Scanning The Horizon" (2017)
A screenshot of the T-140 could initially be seen in the Scanning The Horizon video released in late March 2017. However, it remained unconfirmed at the time as to whether the artwork was actually related to Tanks DLC content or was merely a concept mockup.[3]
Just like NATO'sM2A1 Slammer, the in-game Angara has a hard-kill active protection system modelled onto its turret (the "Afghanit" APS) but lacks the ability to intercept incoming projectiles unlike its real-world counterpart.[4]
Its armour composition is a closely guarded secret, with CSAT instructing its vehicle crews to destroy the Angara should it become irretrievable in order to prevent it from falling into enemy hands.
This order is even given as an - albeit optional - mission objective for the Terminal Defiance scenario in the Altis Requiem mini-campaign. The protagonist of the campaign, Captain Kyros Kalogeros, is explicitly issued orders by his commanding officer (which in turn came from CSAT) to blow up his tank before it could be captured by NATO forces.[5]
↑ARMA 3:Tanks 2018 [Video Game], Bohemia Interactive a.s., Altis Requiem, Terminal Defiance, "As your CO was injured earlier today, you will take charge of his Angara. It is a 'command' variant and boasts an extra turret-mounted, 30mm autocannon. But remember, like the standard model, its armor plating's top secret. CSAT made it very clear. If one of their tanks is knocked out or immobilized, we must scuttle it before our enemies can investigate. After completing your mission, you will need to use the explosives, located in your storage bins, to destroy your own."


")
")
")
")
")
")